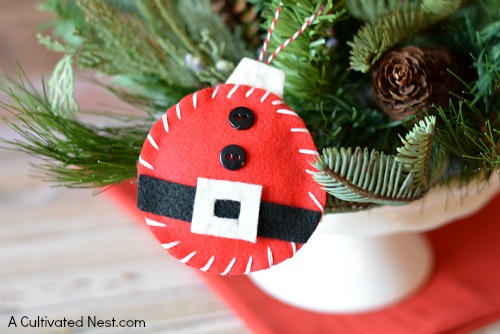
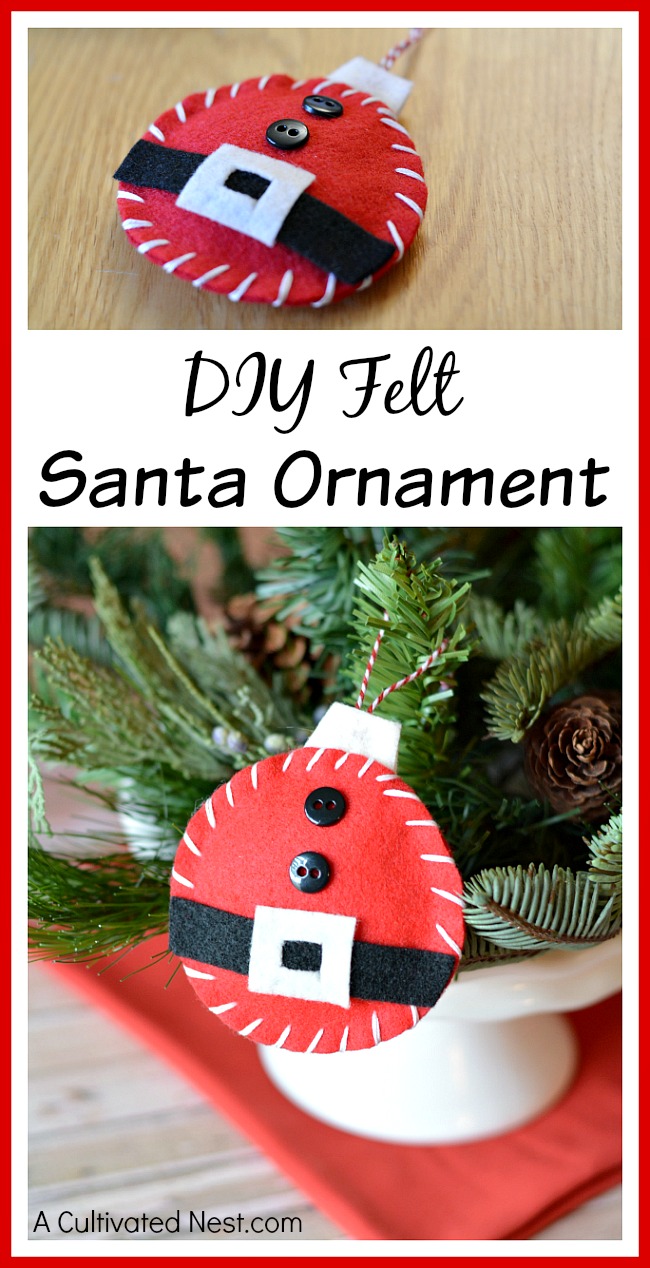
Soon it’ll be time to decorate the Christmas tree! There are so many ways you could choose to decorate it. You could follow a color theme, or use all glass ornaments, all solid-colored ornaments, a mix of glass and plastic or soft ornaments, the list goes on and on! I personally like to do a mix of ornaments, incorporating both store-bought ornaments and handmade ones. The handmade ornaments often wind up becoming my favorite, because not only are they pretty or cute, but they carry wonderful memories! If you’re looking for a cute ornament to make for your Christmas tree, you have to make this DIY Felt Santa Ornament contributed by Kari!
This felt ornament craft is inexpensive, easy, and fun! And if you didn’t feel like sewing, you could just use hot glue or fabric glue for everything, instead. This would be a great activity to do with kids!
DIY Felt Santa Ornament
Materials
Red felt
Black felt
White felt
White embroidery floss
Large eye needle
Hot glue, hot glue gun
2 small black buttons
Fiberfill or cotton balls
String for hanging
Pencil
Scissors
Circle template (such as a cup or drinking glass) -Mine measures 3.25″ diameter
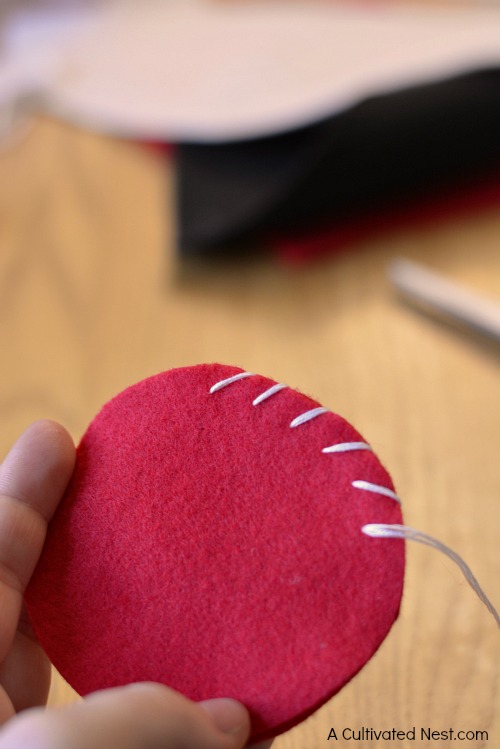
If you don’t have experience with the overcast hand stitching method, there’s a helpful sewing guide available on Sew 4 Home.
Directions
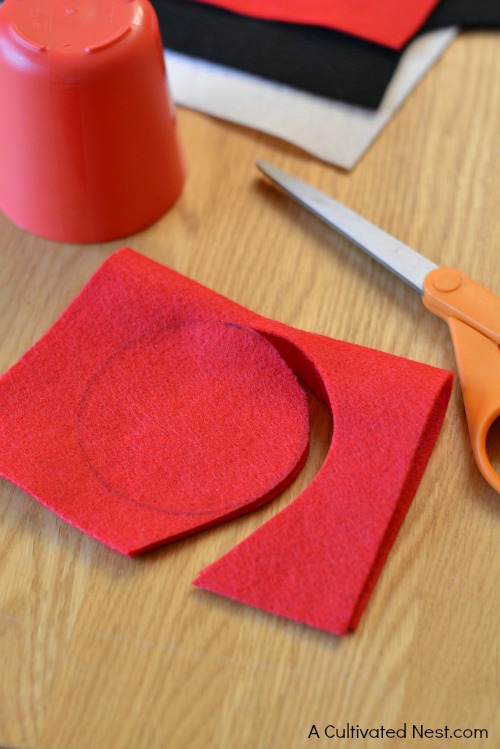
1. Fold the red felt in half. Then use a pencil and circle template to trace a circle. Cut the felt apart, two pieces at one time. Flip the circles (if necessary) so the pencil outline is on the inside.
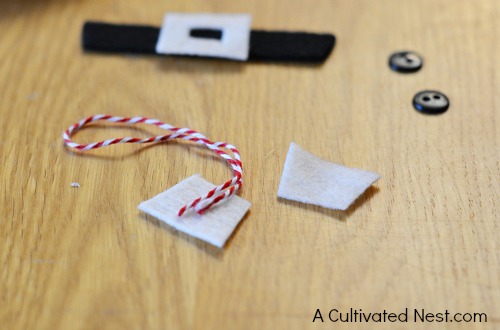 2. With black felt, cut a belt.
3. With white felt, cut two pieces for the ornament top and one square buckle.
4. Cut a small piece of thread/string for hanging.
5. Position belt, buckle, ornament top and two buttons onto your red felt to be sure you like the position and placement. Then remove pieces to begin sewing red felt.
6. Cut a piece of embroidery floss about 45″ long. Separate it in half, so you are sewing with three strands. Thread the needle and fold in half, tying a knot at the end. This will allow you to sew with six pieces of embroidery floss for a nice crisp, bold look.
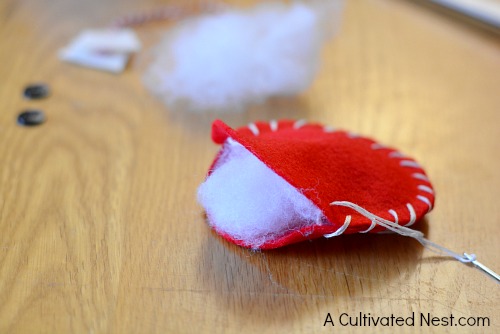
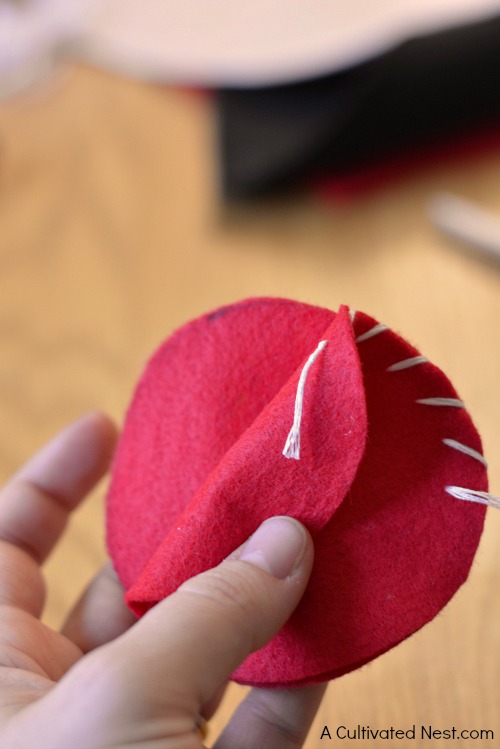
7. Begin to stitch the two pieces of felt together using the overcast stitching method. When you are almost complete, stop to fill with fiberfill.
8. Place the “ornament top” felt pieces on a flat surface and glue the hanging string between the two pieces.
9. Slip the ornament top felt into the red ball and continue your stitching to attach the top.
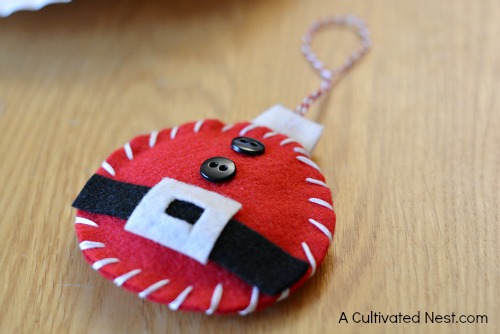
10. Using a hot glue gun, attach the buttons, beltm and buckle to the red felt front.
11. Hang and enjoy!
Don’t miss a post! Get this blog delivered by email every time I post. Subscribe via email here
This post contains affiliate links to Amazon. Please see our Disclosure Page for more information.
About Kari:
Kari is a Mom, Wife, Dog Lover, Graphic Designer, Chocolate Lover, Fearless Baker and a regular contributor to A Cultivated Nest.
You may also be interested in:
The post DIY Felt Santa Ornament appeared first on A Cultivated Nest.
