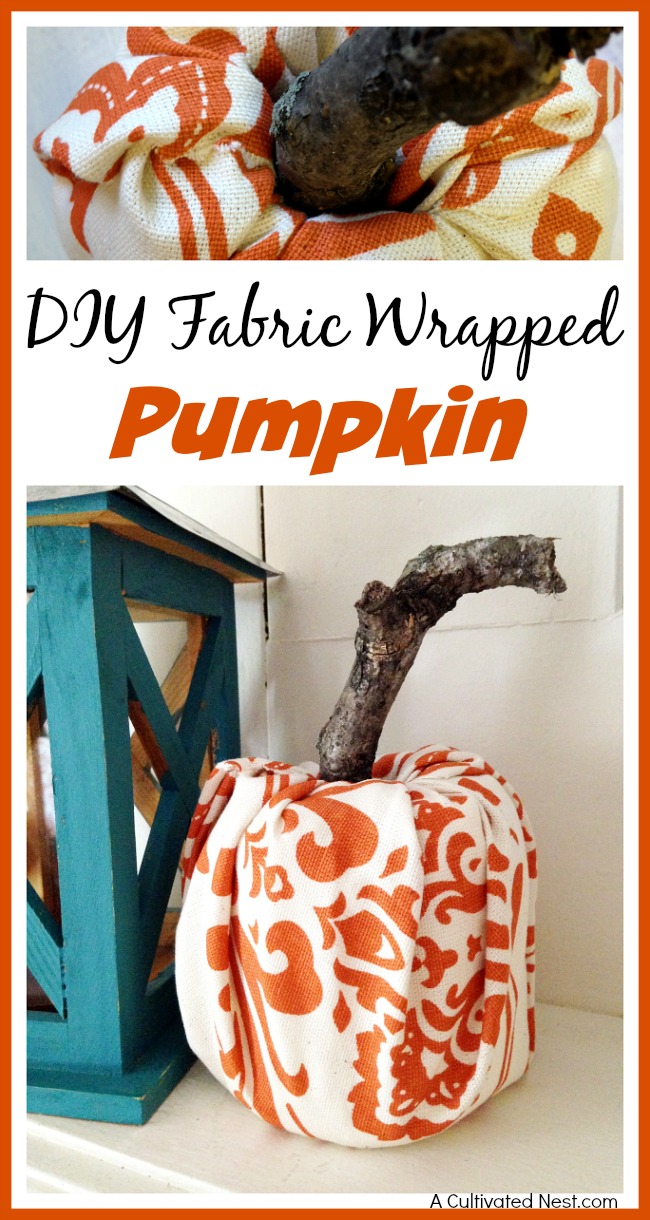
If you want to enjoy pumpkins that are little more low maintenance this year, this fabric wrapped pumpkin idea may be a solution for you! Making your own fabric wrapped pumpkin can be easy, and all you need is some of your favorite fall fabric and a roll of toilet paper. There is no sewing required and the finished product is ready in just minutes! Here is how you can get started making an Easy DIY Fabric Wrapped Pumpkin of your own!
Have fun choosing your fabric for this project! Anything with orange, brown, and/or white is good for fall in general, and orange and black is good for Halloween. Also consider using fabric with a fun fall/Halloween print on it (leaves, jack o’lanterns, candy corn, bats, etc.). Just be creative and have fun!
Easy DIY Fabric Wrapped Pumpkin
Supplies needed:
Full toilet paper roll
Fabric scrap square, about 20 inches by 20 inches in size
Scissors
Hot glue, glue gun
Large twig or stick
Directions:
1. Begin by laying the fabric out flat on the table so the pattern side is facing downward.

2. Place the toilet paper roll in the center of the fabric. Begin pulling the fabric up the sides of the toilet paper roll and tuck into the tube.
3. Repeat, pulling tightly as you go all of the way around the toilet paper roll.
4. Use your scissors to trim off any extra fabric and add small dabs of hot glue to secure any lose ends.

5. Finish by placing a twig into the center of the tube. If it does not fit snug you can always add some hot glue to keep it in place.
Your fabric wrapped pumpkin is now ready to be displayed. Try making a variety in various colors and patterns for a fun fall look. When the season is over, these will store nicely so you can simply pull them out again next year!
You may also be interested in:
The post Easy DIY Fabric Wrapped Pumpkin appeared first on A Cultivated Nest.


