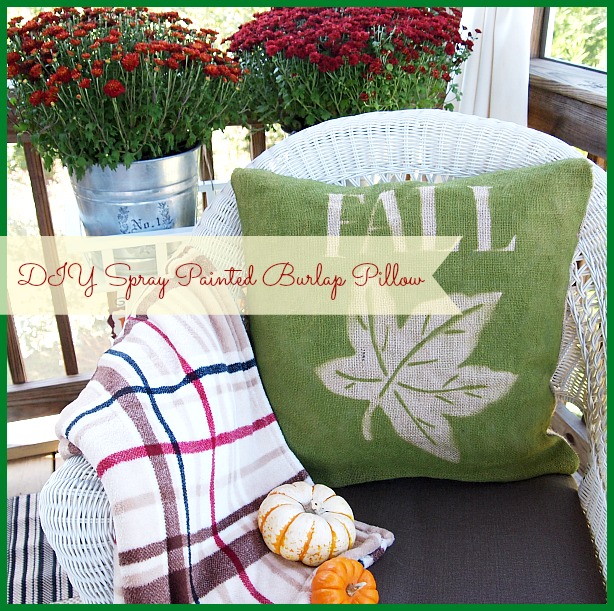
I love adding my own personal fall touches inside and outside the house to create a warm, cozy feeling! One way that I like to bring in the season is to incorporate it right into my home furnishings with throw pillows! While I can sew a little, most often I just don’t have the time to haul out my machine, re-thread, and sew up a pillow. If you’re like me and you’d like to make some cute fall pillows without sewing, then you have to try this Easy DIY No Sew Fall Accent Pillow!
If you love to sew you can create the same pillow on your sewing machine. I have also made them so that they are a temporary cover for my small throw pillows, easy to change out for the next holiday or season. If you have small accent pillows already, you can use those. You can also pick up plain pillow forms at craft stores or even older outdated ones at thrift stores and yard sales.
Easy DIY No Sew Fall Accent Pillow
Supplies Needed:
Burlap or other fabric
Wide ribbon
Smaller complimentary ribbon
Iron on seam
Throw/accent pillow
Directions:
1. Measure your throw pillow. You can either eyeball it or measure the height and width, then add about 2-3” on 3 of the sides, and an additional 8”- 10” on one end- this will be the flap that you tuck in.

2. Place iron on seam down one side of burlap/fabric and iron according to package directions. My package stated- Place tape adhesive side down, apply iron for 2 seconds (my burlap was thick and required 4 seconds). Peel off backing, press second layer of fabric into place and iron them together- heating time varies and again with thick burlap it took longer.

3. I started by fusing together my two ribbon lengths so the narrow ribbon was on top of the wide ribbon. Then I ironed the ribbons on the entire length of the fabric with the iron on seam.
4. Place your two pieces of fabric “right side in.” This will be the piece where your ribbon is.
5. Repeat the iron on process around 3 sides, leaving the longer end open.

6. Fold down a small seam on the opening/flap and press on iron on seam to give it a finished edge. The flap makes it easy to swap out the pillow cover but still give your pillow a finished off look.
7. I then took a piece of the ribbon and simply tied it around one of my other throw pillows to have it coordinate but to also keep it simple.
You can use these pillows in the house as well as outdoors on a covered porch or patio!
About Jody: I am a Florida girl through and through living the semi-country, small town life. I am making my way through it with my amazing hubby, 2 beautiful kids, 2 of the best Dachshunds to ever walk the face of the earth, massive amounts of coffee and a whole lot of Jesus. I homeschool, craft, cook, scrapbook, garden, raid the thrift shops, snap 1,000’s of photos, and read when I can grab a spare minute (which is rare). You can find me blogging at Simply Southern Sunshine.
You may also be interested in:
The post Easy DIY No Sew Fall Accent Pillow appeared first on A Cultivated Nest.


