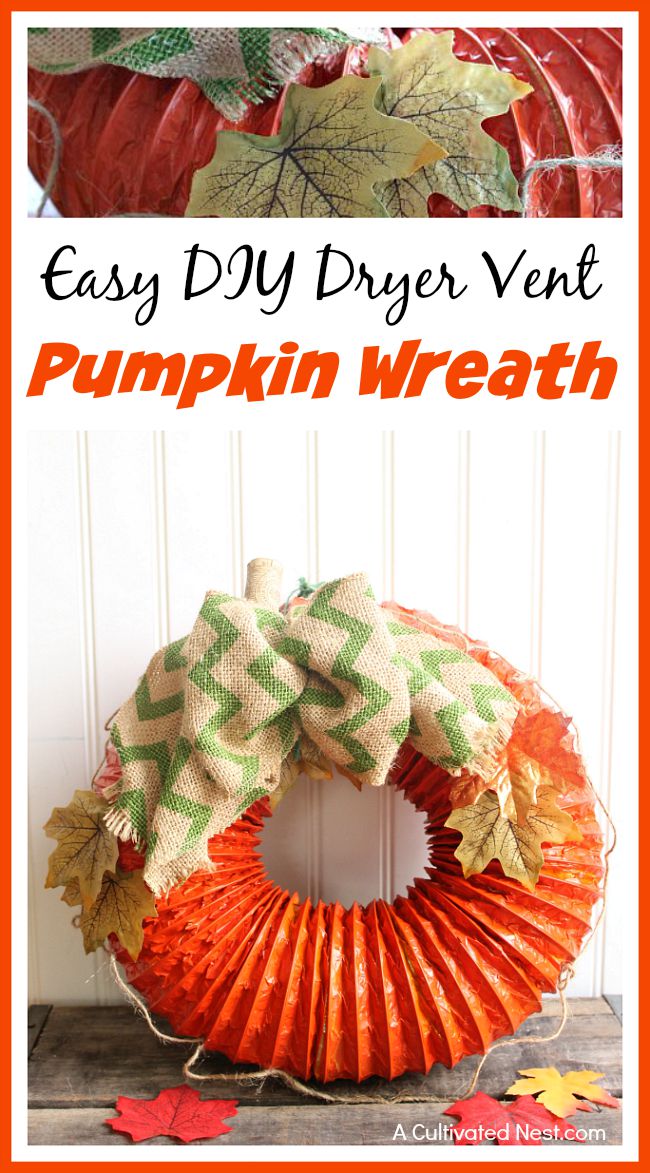
Surely you’ve seen the adorable dryer vent pumpkins that have popped up on Pinterest? They’re such a cute and simple fall decoration! They’re very frugal as well, as you can purchase a dryer vent for under $10 and can make 2-3 pumpkins from one. I decided to step it up a notch by turning mine into a wreath, and I was very happy with how it turned out! Just a bit of paint, a few embellishments that I already had in my craft stash, and I had a pretty new wreath for the front door! Follow these instructions to make your own Easy DIY Dryer Vent Pumpkin Wreath!
You can paint your pumpkin wreath orange, or do it in unusual colors to match your color decor or preference- try cream, brown, burgundy, or even teal!
Easy DIY Dryer Vent Pumpkin Wreath
Supplies:
8 foot aluminum dryer vent
Orange spray paint
Burlap ribbon of your choice
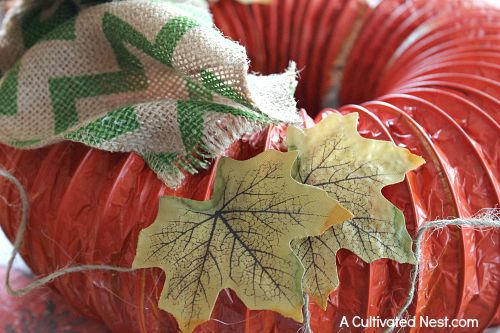
Silk fall leaves
Twine
Wine cork
Hot glue gun/sticks
Directions:
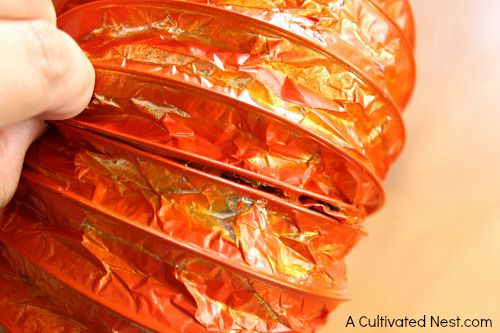
1. Cut dryer vent to preferred size from 12” to 36.” You can make your pumpkin wreath as large or as small as you like within this range, but cut it smaller than 12″ and the ends will not be able to touch. Larger than 36″, and it will sag.

2. Form into a circle. Pinch together ends with a clothespin and spray with 2-3 coats of orange spray paint. After final coat, allow to dry for at least 2 hours.

3. Secure end to end with hot glue, applying to 3 inches at a time, then hold together for one minute or until cooled and hardened. Continue all the way around until closed.
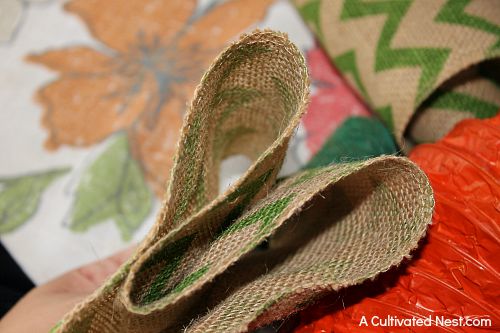
4. I am far from an expert bow maker, this is the simplest way I have found to make bows for my wreaths that come out uniform. If you don’t want to make a bow, you could just add your favorite store-bought one. To make a bow, fold your desired length of burlap ribbon into an accordion, making the folds as large as you want the bow to be.

Wrap twine around the bottom of your accordion shape, making sure to catch all layers, tie off tightly then trim excess ribbon.
Puff out the folds to create the bow, and cut ends to desired length.
5. Hot glue the bow to the top of your wreath, arranging the ends in folds and securing with hot glue.
6. Twist twine from top all the way around, making tendrils that resemble vines.

7. Add a wine cork to the very top for a stem. Include a few random silk leaves, and twine for a hanger. Then display your pretty new fall pumpkin wreath!
About Jody: I am a Florida girl through and through living the semi-country, small town life. I am making my way through it with my amazing hubby, 2 beautiful kids, 2 of the best Dachshunds to ever walk the face of the earth, massive amounts of coffee and a whole lot of Jesus. I homeschool, craft, cook, scrapbook, garden, raid the thrift shops, snap 1,000’s of photos, and read when I can grab a spare minute (which is rare). You can find me blogging at Simply Southern Sunshine.
This post contains affiliate links to Amazon, which means that I may earn a small commission from some of the links in this post. Please see our Disclosure Page for more information.
You might also be interested in:
The post Easy DIY Dryer Vent Pumpkin Wreath appeared first on A Cultivated Nest.


